After installing Android Studio, you can start working with the Android applications. In this tutorial, I will show you how to create a new Android project to build an Android application!
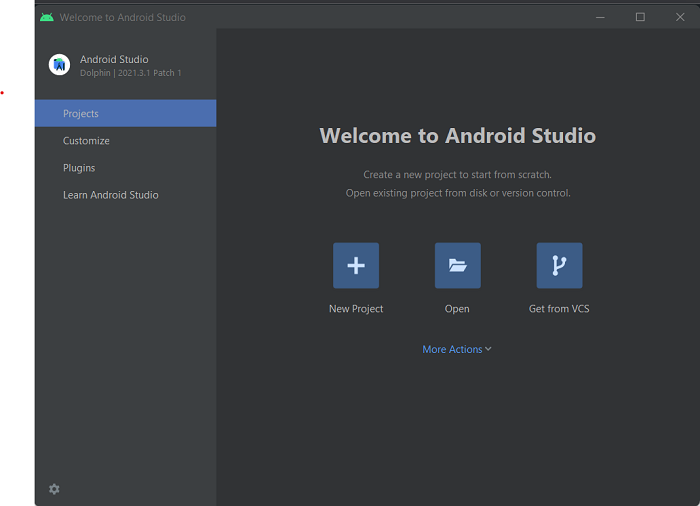
The “Welcome to Android Studio” window when you start Android Studio will look like this:
Please click on New Project to start creating a new New Project:
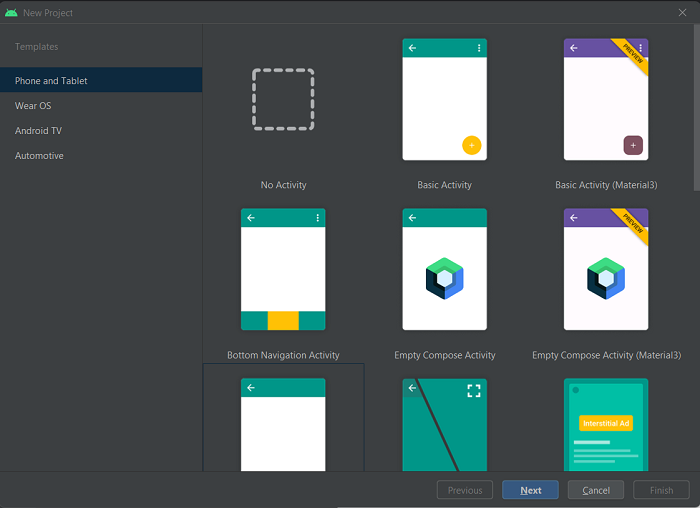
In this first step, we will choose the device on which you want our application to be able to run. Android applications can run on Mobile, Tablet, wear OS, android TV or Automotive, so depending on your needs, please choose accordingly. I will only focus on Android applications running on mobile or tablet in the tutorials of Huong Dan Kotlin, guys!
After selecting the device, please select Activity.
In short, the Activity is where we build the interface for the application, handle the operations related to our application. By default, Android supports many different types of Activity, which means we have many different interfaces, UI/UX. You can choose the type of interface you want to build for your Android application, but if you are just starting to work with Android applications, then choose Empty Activity:
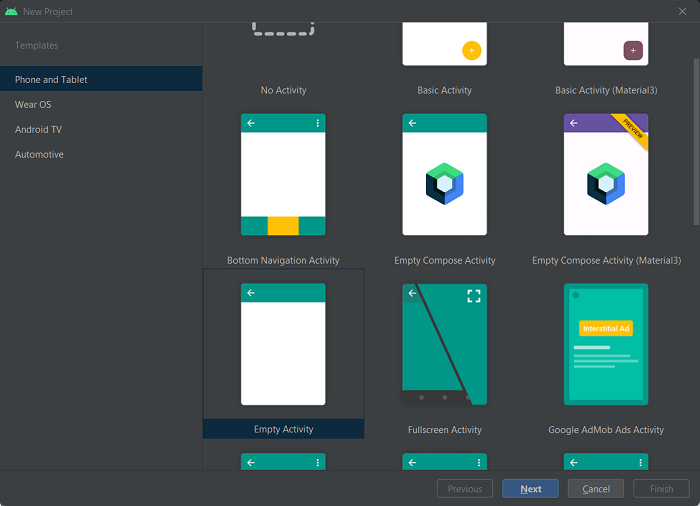
We will build the Activity as we like!
Then press the Next button.
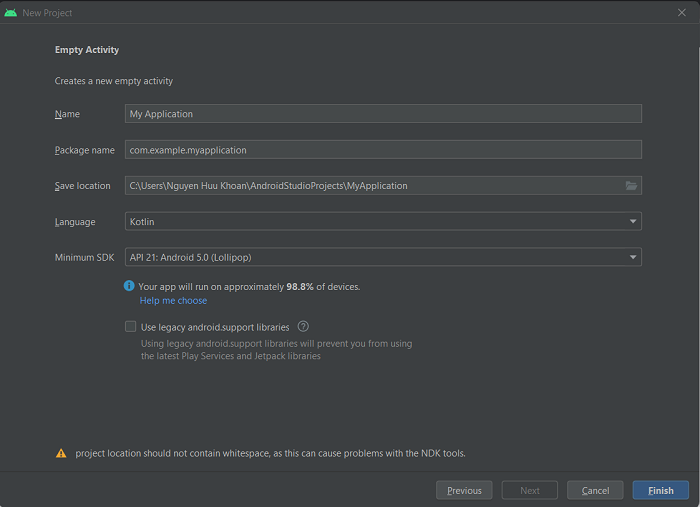
Name is the name of the application.
Package name is the package name of the application. Please name the package according to Java’s naming convention https://docs.oracle.com/javase/tutorial/java/package/namingpkgs.html! This package name is required to be unique for your application when it is published to Google Play, so please choose the package name accordingly!
We will use Kotlin to build Android application.
The Minimum SDK part of the application is very important because it determines whether your application can run on many devices, many different versions of the Android operating system or not? Currently, if you choose API 16 with Android 4.1 operating system, your application will run on almost all devices. But if you choose this version, there may be some new features of Android SDK that we cannot use. Therefore, depending on your needs, please choose the appropriate version.
I will create a new Android project with the following information:
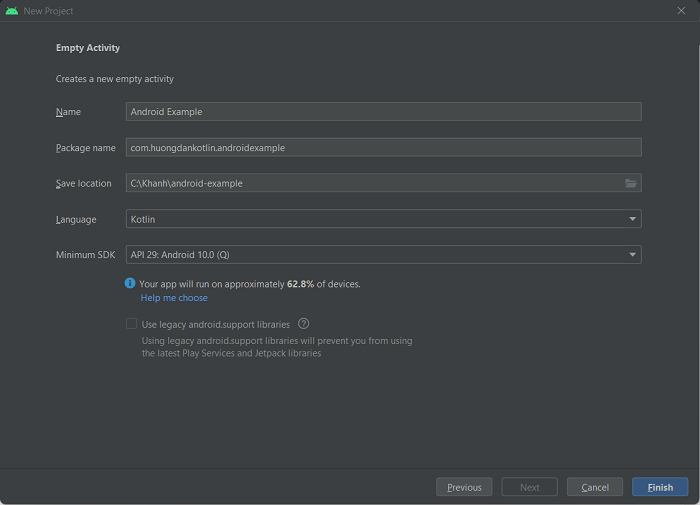
Click the Finish button to finish creating a new Android project!
Android Studio will download the SDK you have selected:
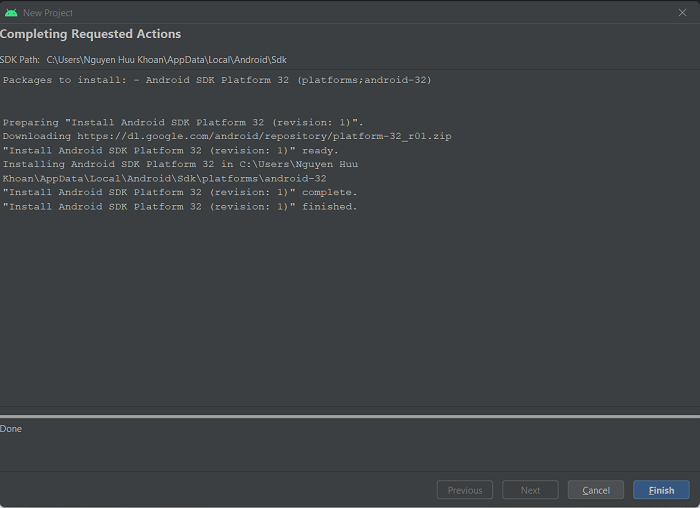
Click the Finish button again, guys!
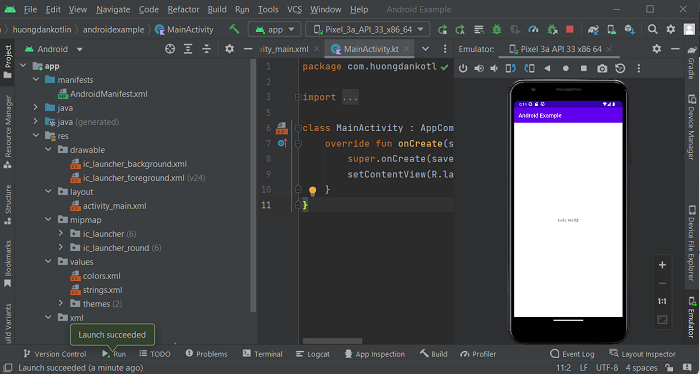
The following results:

On the left side of Android Studio are all the files of the Android project, and on the right is where you can see the contents of each of these files.
As you can see a MainActivity class has been created with the content that we can immediately run our Android application. We also have other classes related to testing.
I don’t understand why Android Studio generates these classes in the Java directory even though I have chosen the development language for my application is Kotlin??? Hopefully, in the next versions, Android Studio will generate this place accordingly.
The res directory is similar to the src/main/resources directory of the Maven project:
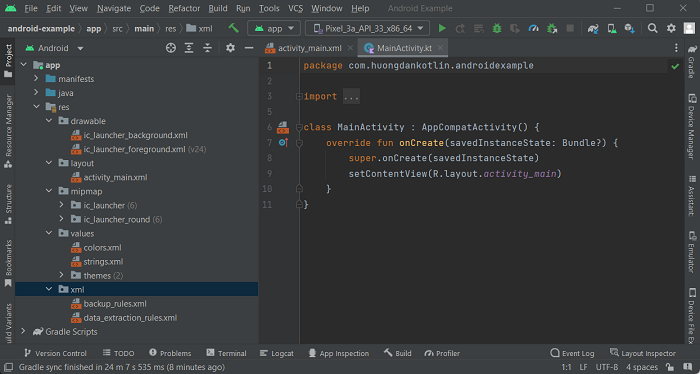
It is used to store resource files such as images, properties, icons, configuration for Android applications.
A folder named layout contains XML files that define the application’s interface. In this example is the file activity_main.xml, guys! If you double-click to open this file, you will see the design interface as follows:
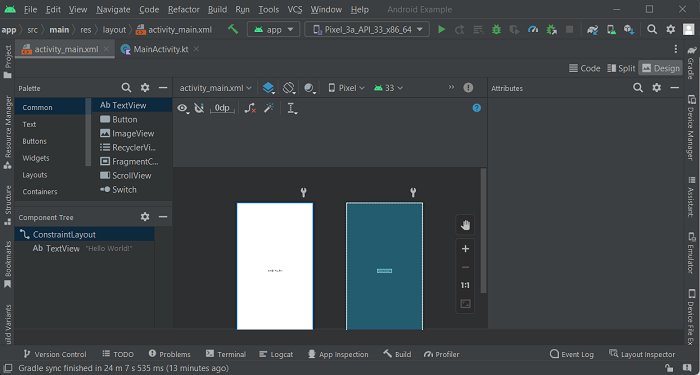
Android Studio allows drag and drop to design the interface for that application! The MainActivity class will use this activity_main.xml file to display the application’s interface with this line of code:
|
1 |
setContentView(R.layout.activity_main) |
To run the above example application, we need an Emulator. You can refer to this tutorial to create your own Emulator!
My results when running above are as follows: